Walkthrough Guide
This is a quick walkthrough guide to take you through the workings of the Inventory App.
Step 1: Register and Login
- Create an account by providing your email and password on the Register page.
Password must contain at least one number and one uppercase and lowercase letter, and at least 5 or more characters.
Using your actual email address is neither recommended nor required because no email registration link will be sent for account activation.
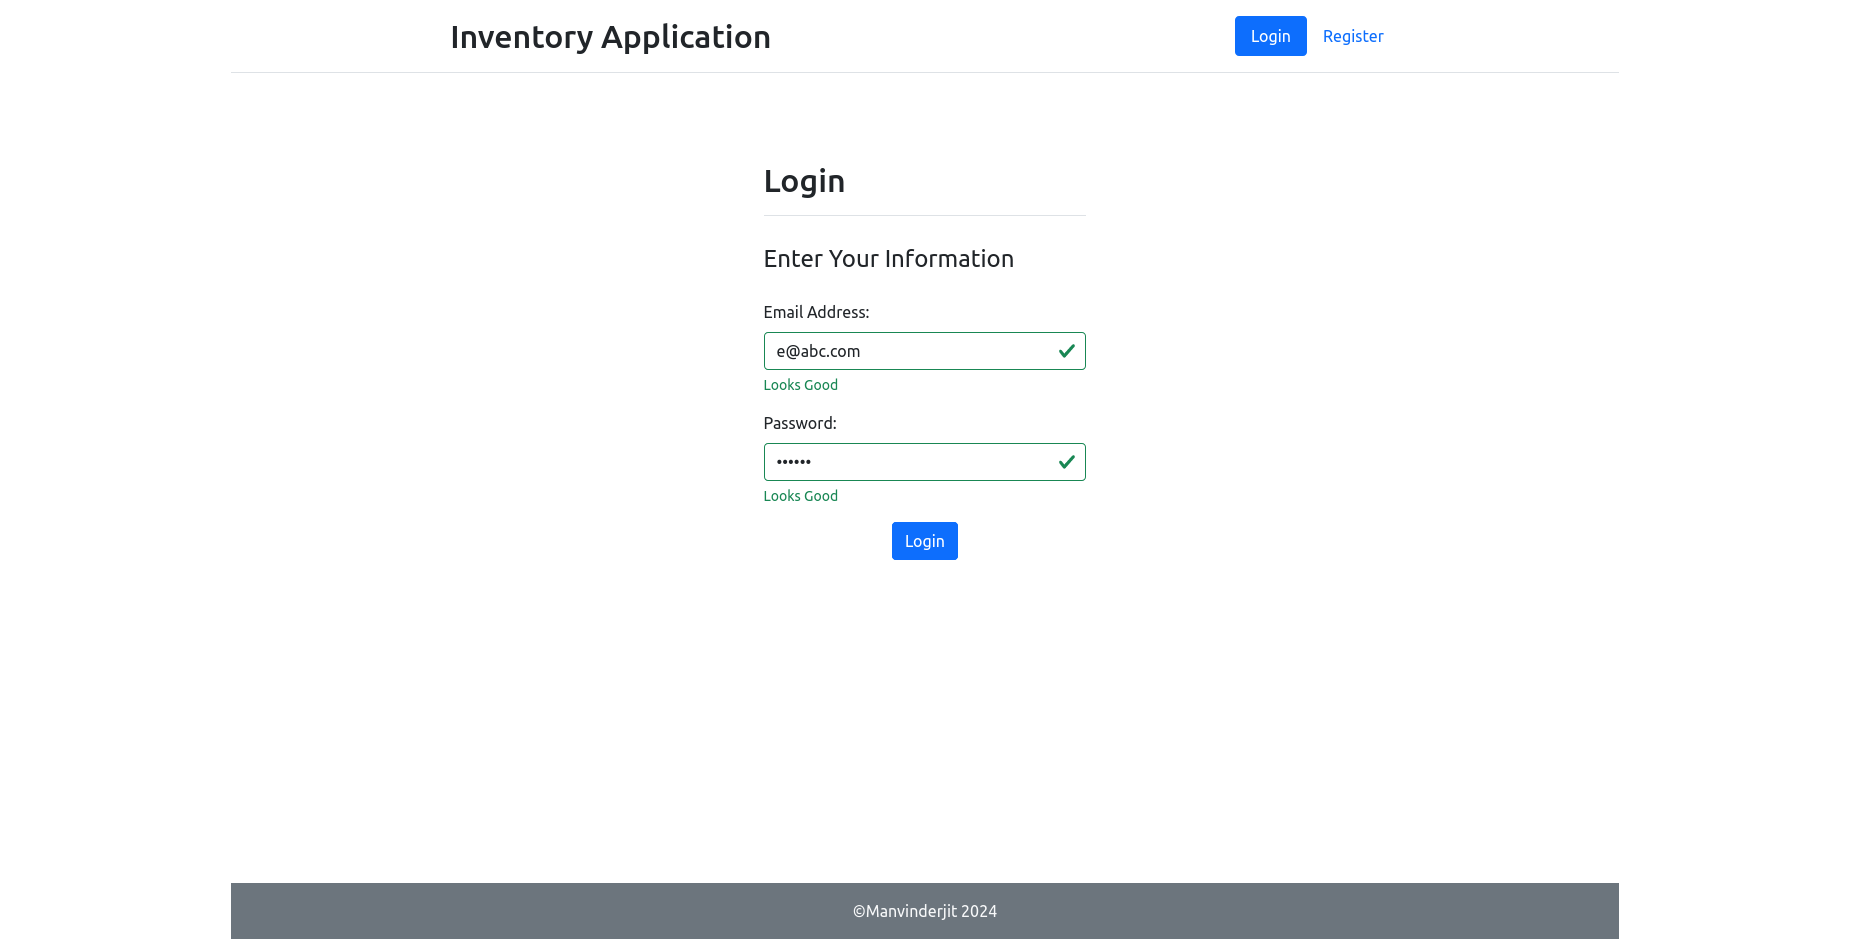
Alternatively: Use these demo credentials- email: e@abc.com
- password: Admin1
- Log in to the account using your or the demo credentials.
Step 2: Create a Category (Optional ) and Add a Product
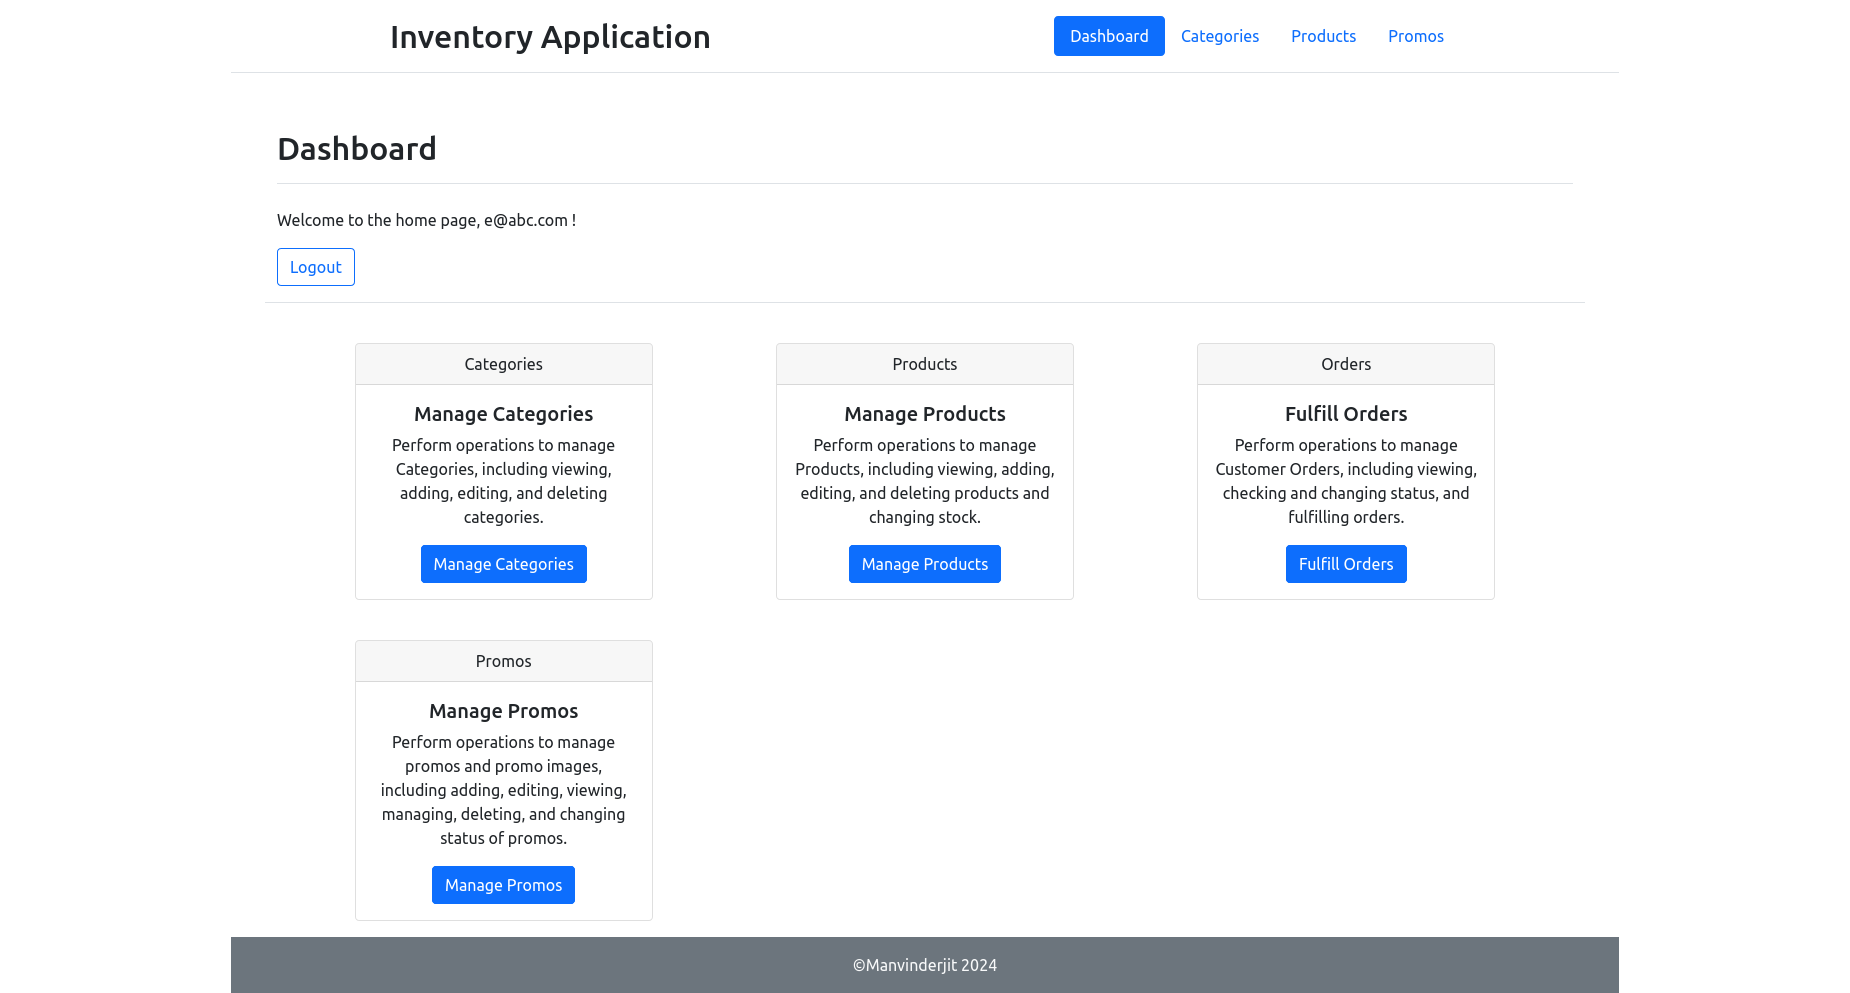
After logging in, you will be redirected to the dashboard. There are links for managing the following:
- Categories
- Products
- Promos
- Orders
-
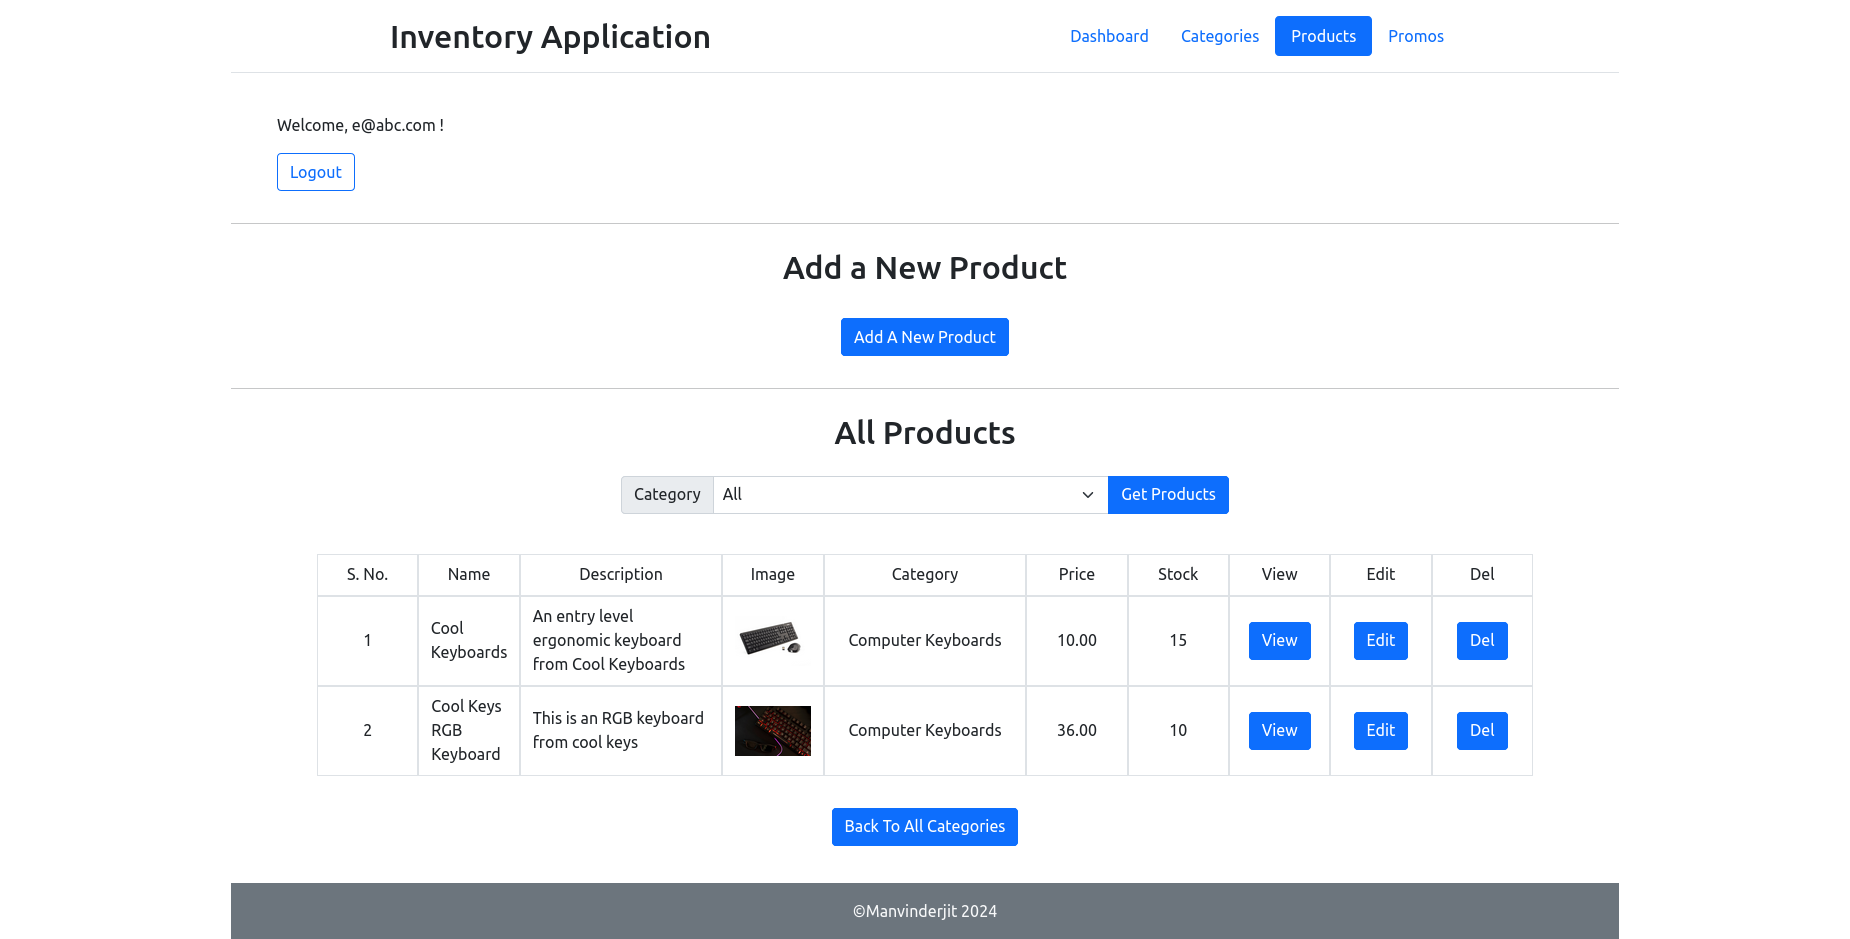
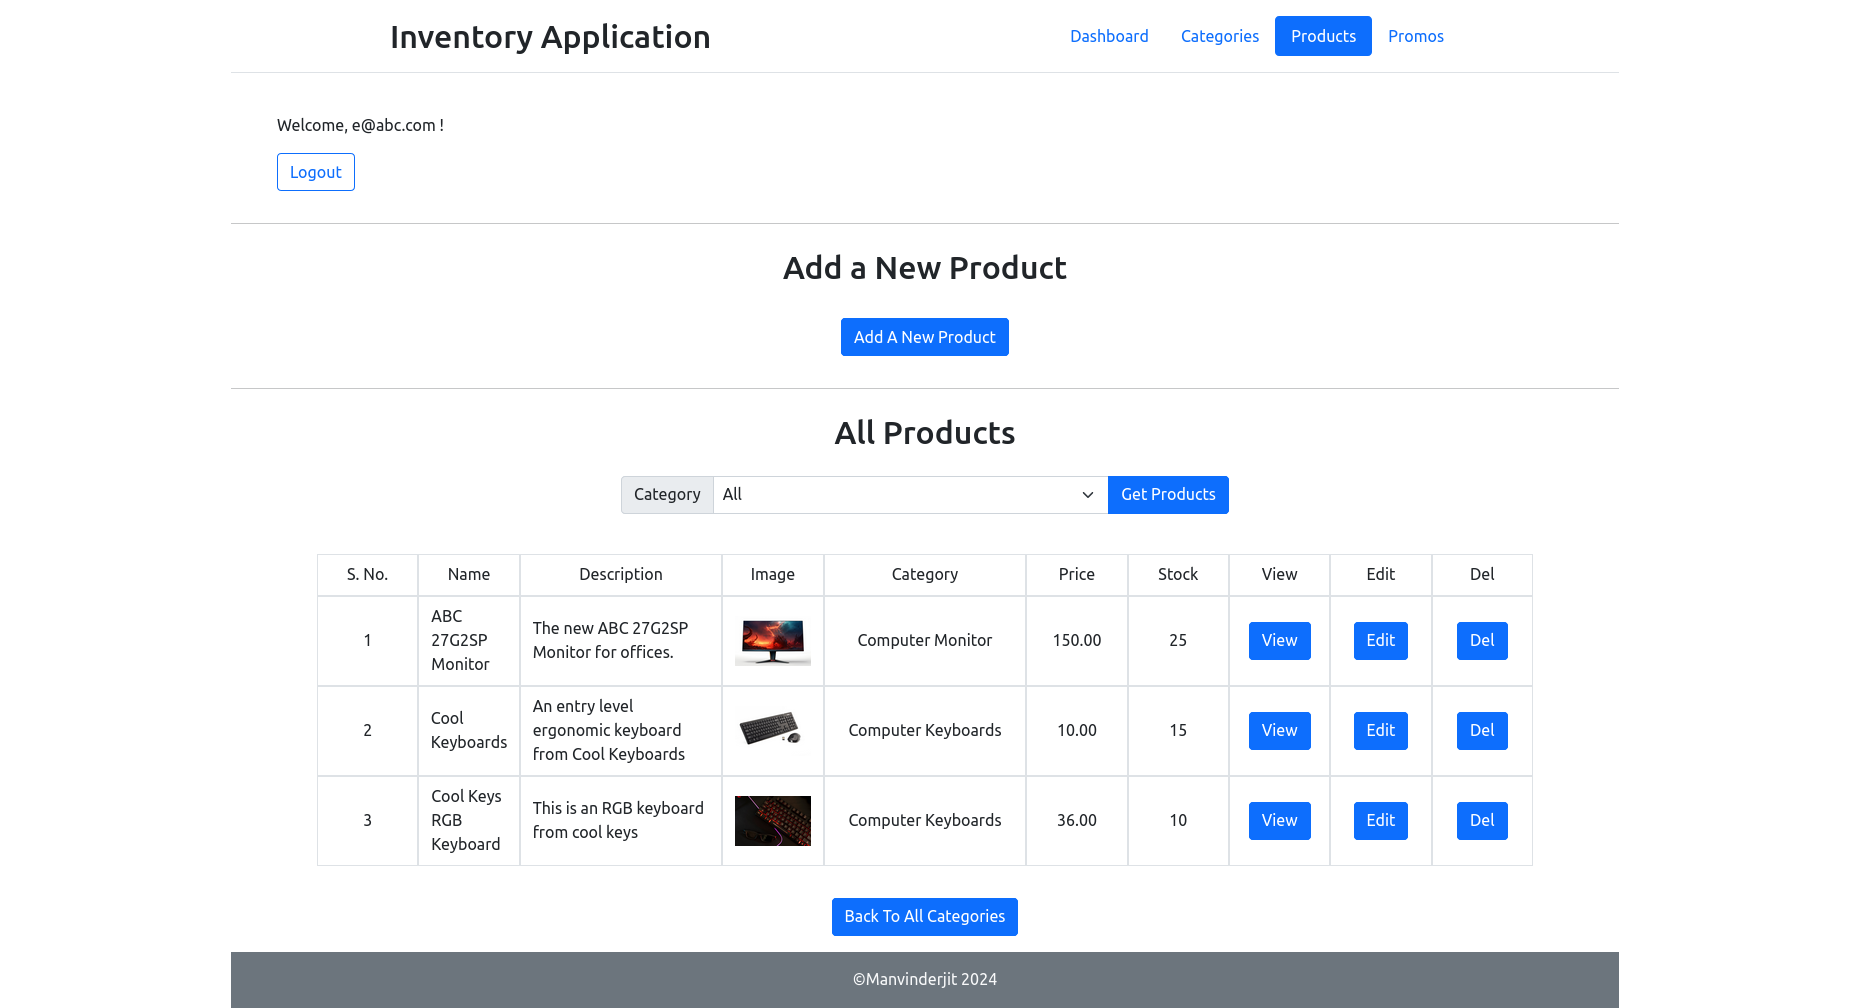
Click on the Manage Products link from the Dashboard. You will be taken to the All Products page. It will list all the existing products with links to View, Edit, and Delete them.
-
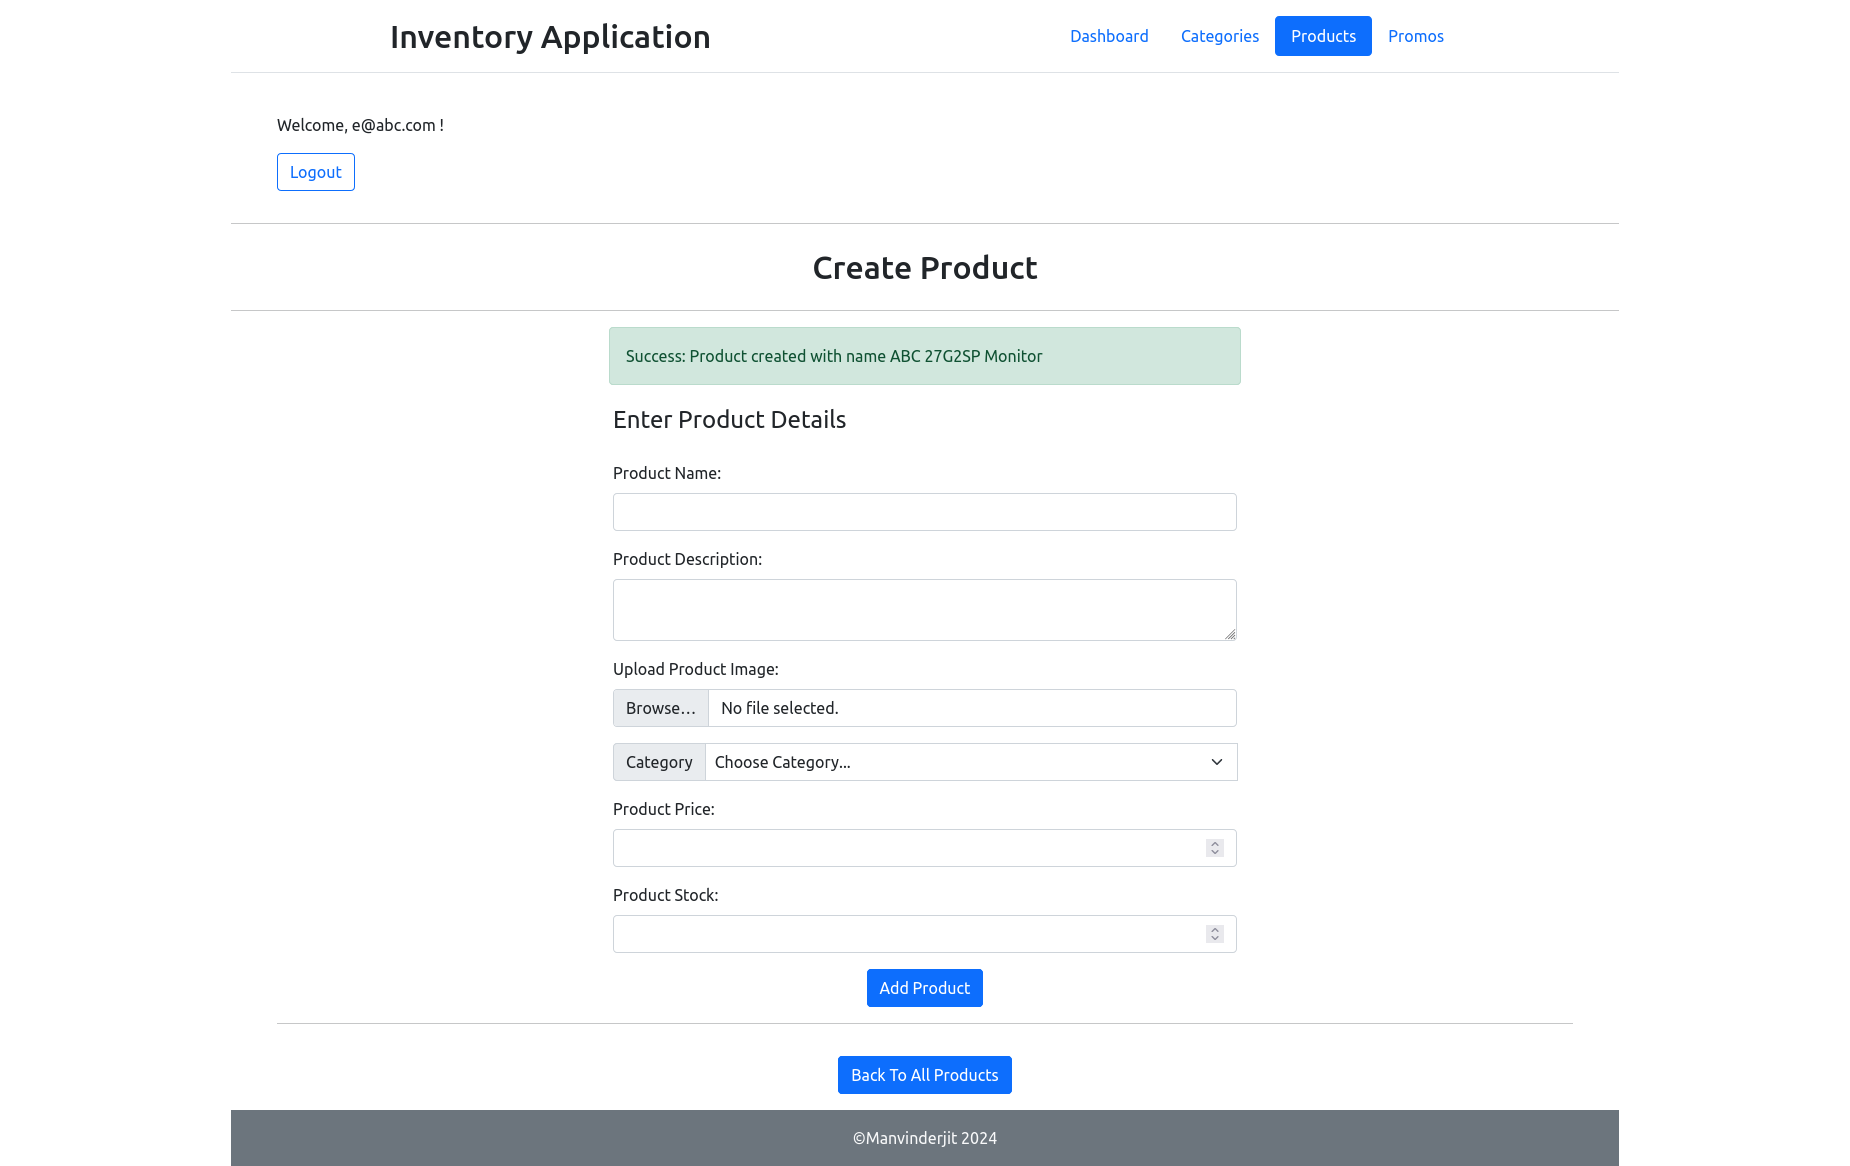
Click on the Add a New Product link to add a new product. You will be directed to the Create Product page.
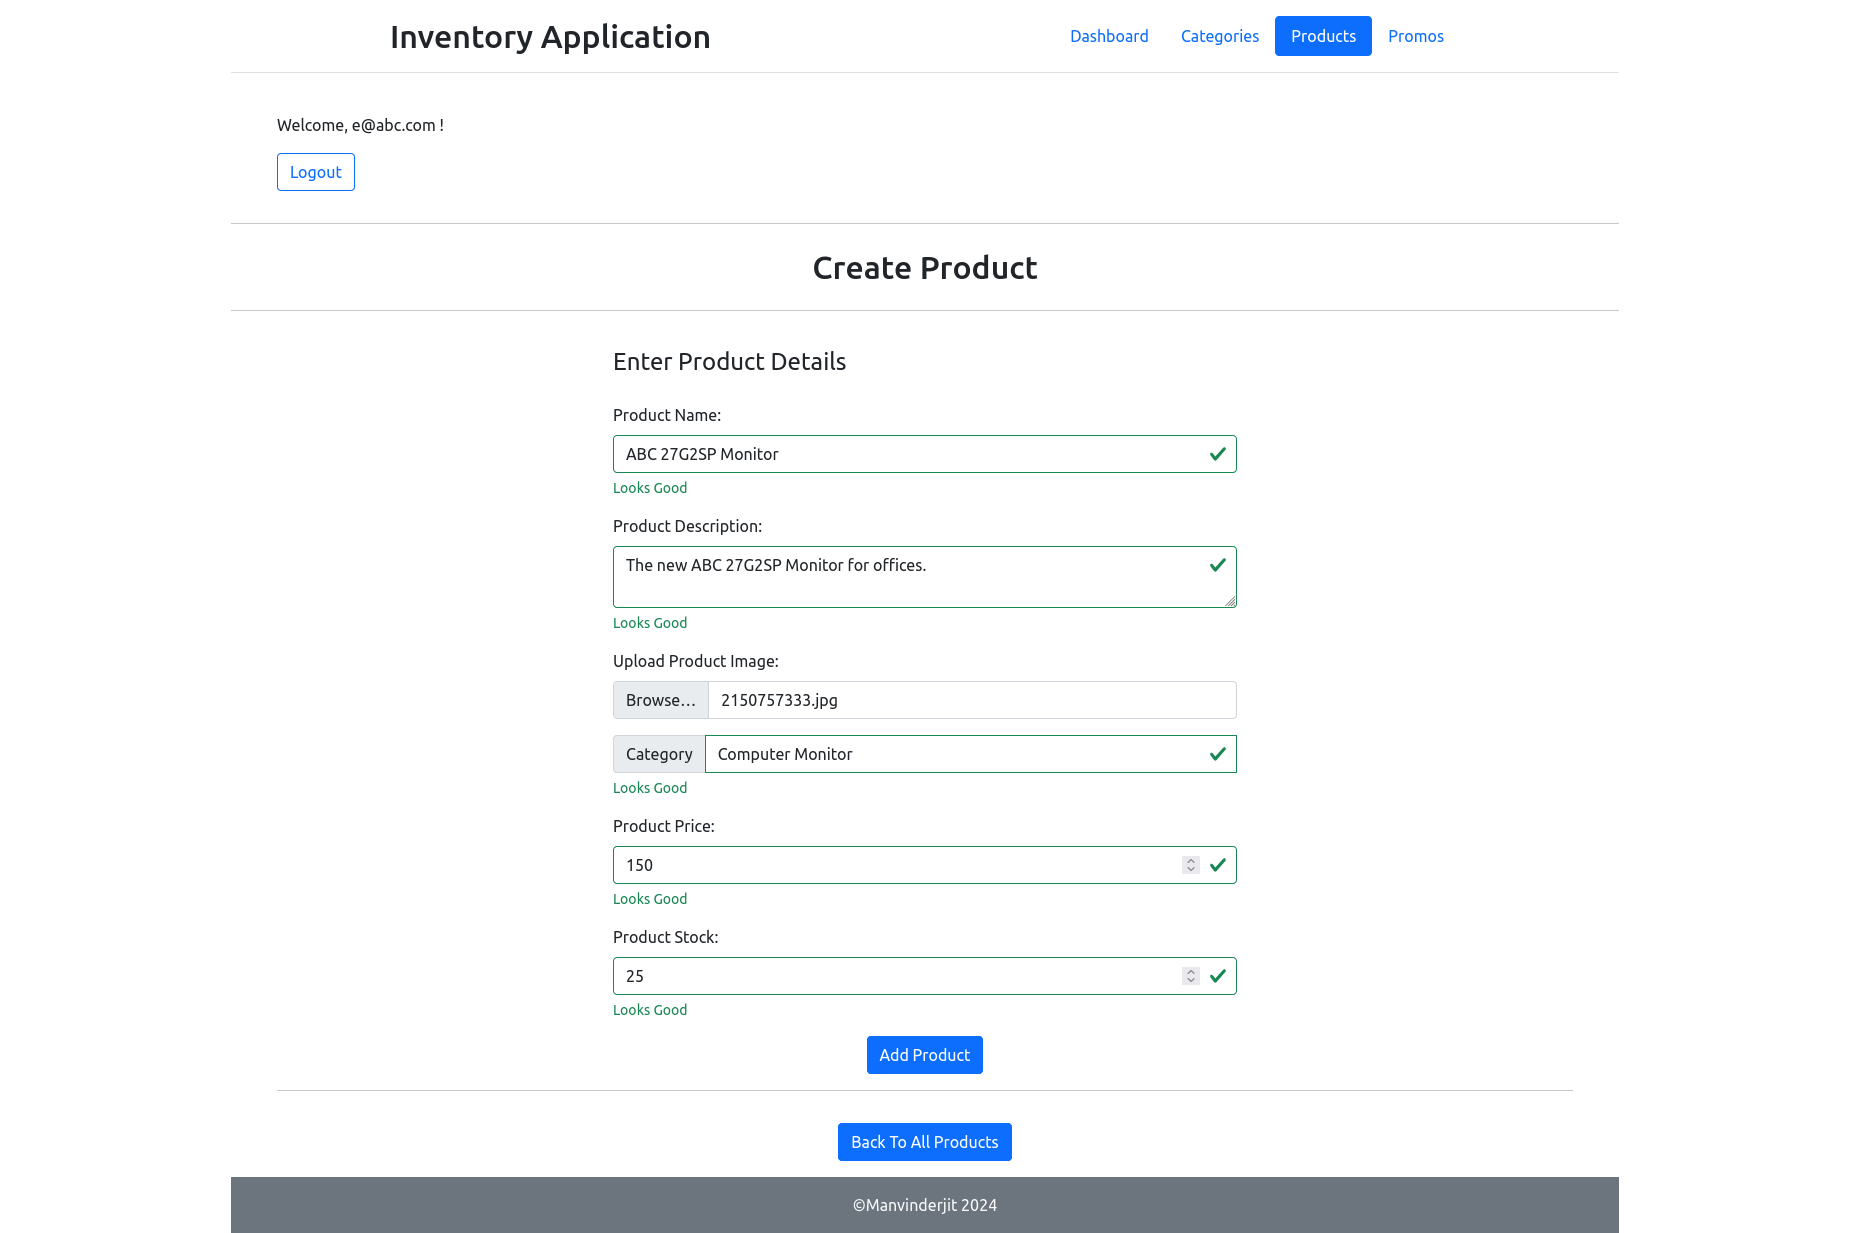
- Enter all the required product details, upload an image, and choose a category for the product.
-
Click on the Add Product button to create the product. If everything goes well, a success message will show. In case of errors, respond accordingly.
Checking the newly created product:
-
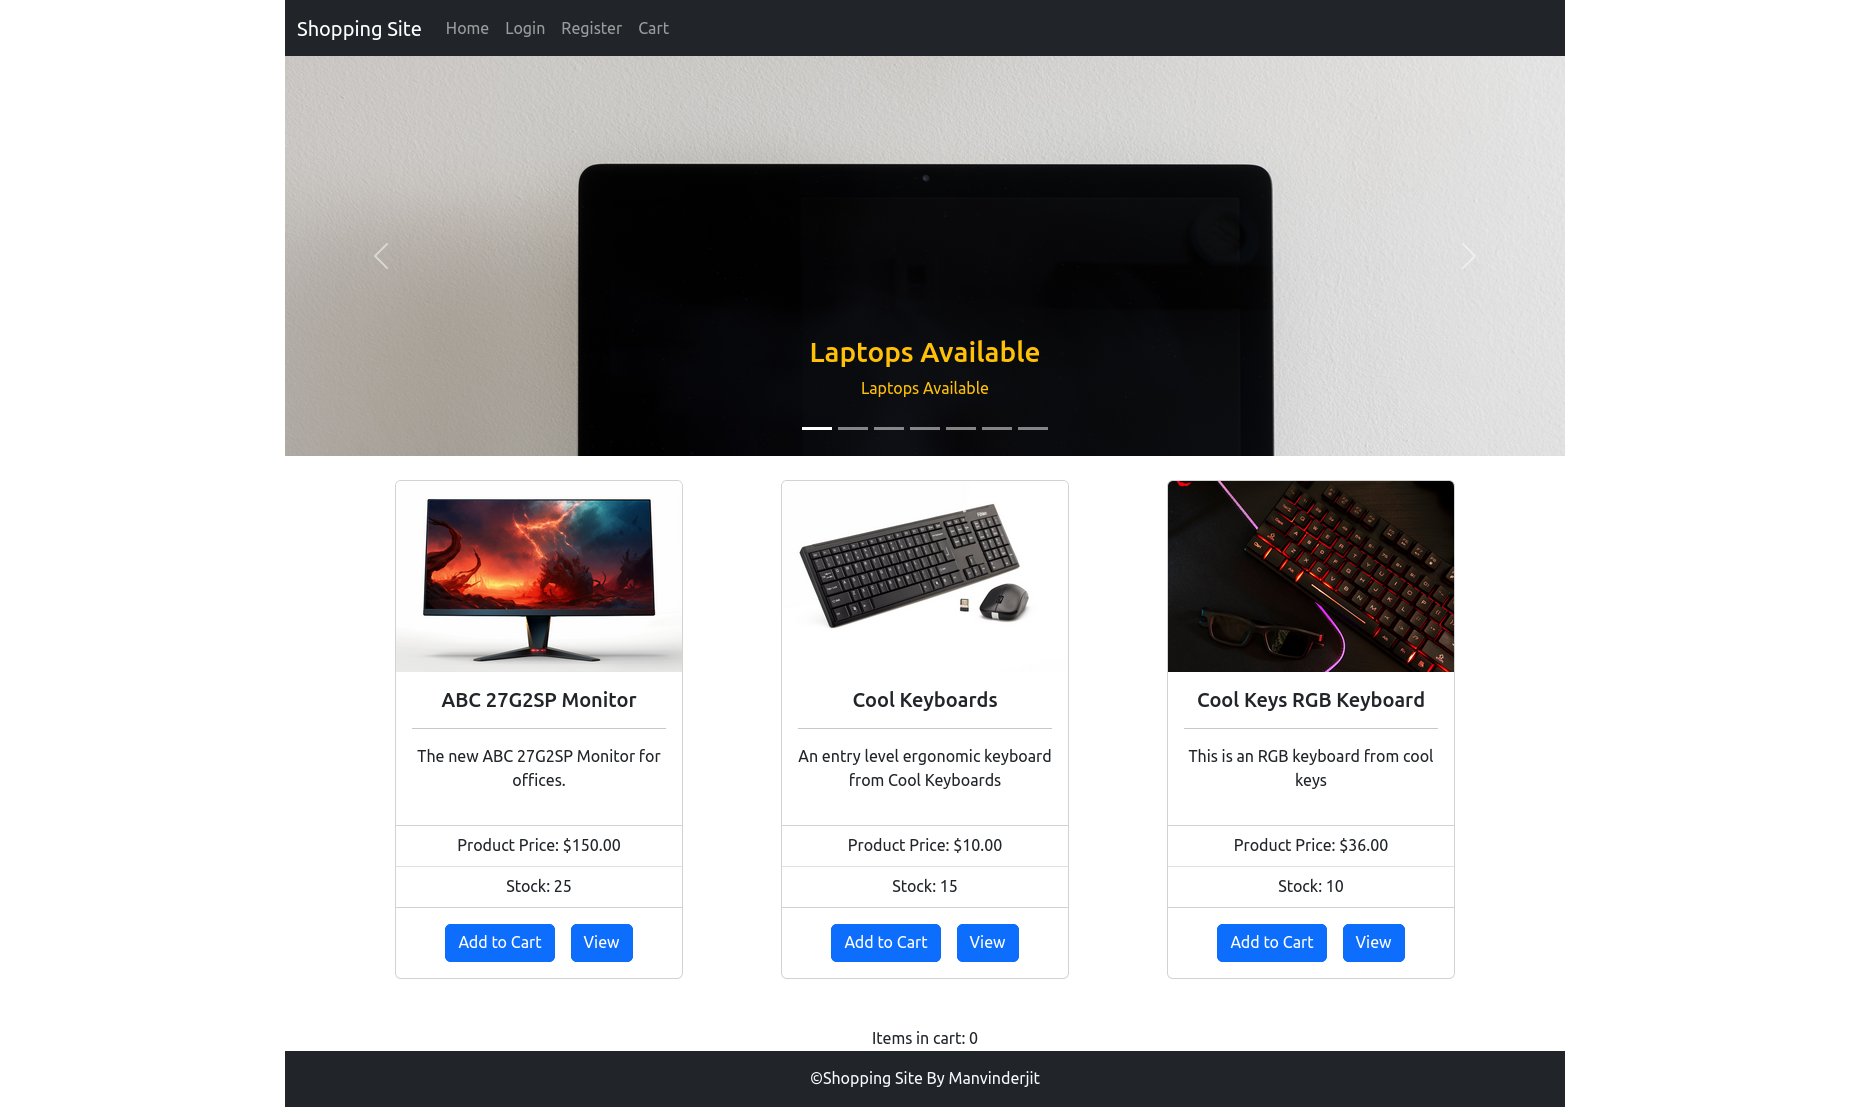
Go to the Shopping Cart App. The new product should now be sold on the home page and available for purchase by customers.
-
Go to the All Products page from the Dashboard in the Inventory App. The new product should be visible in the list.
Step 3: Create a Promo
This Inventory App allows you to manage carousel promos shown on the home page of Shopping Cart app. Let's create a new carousel promo:
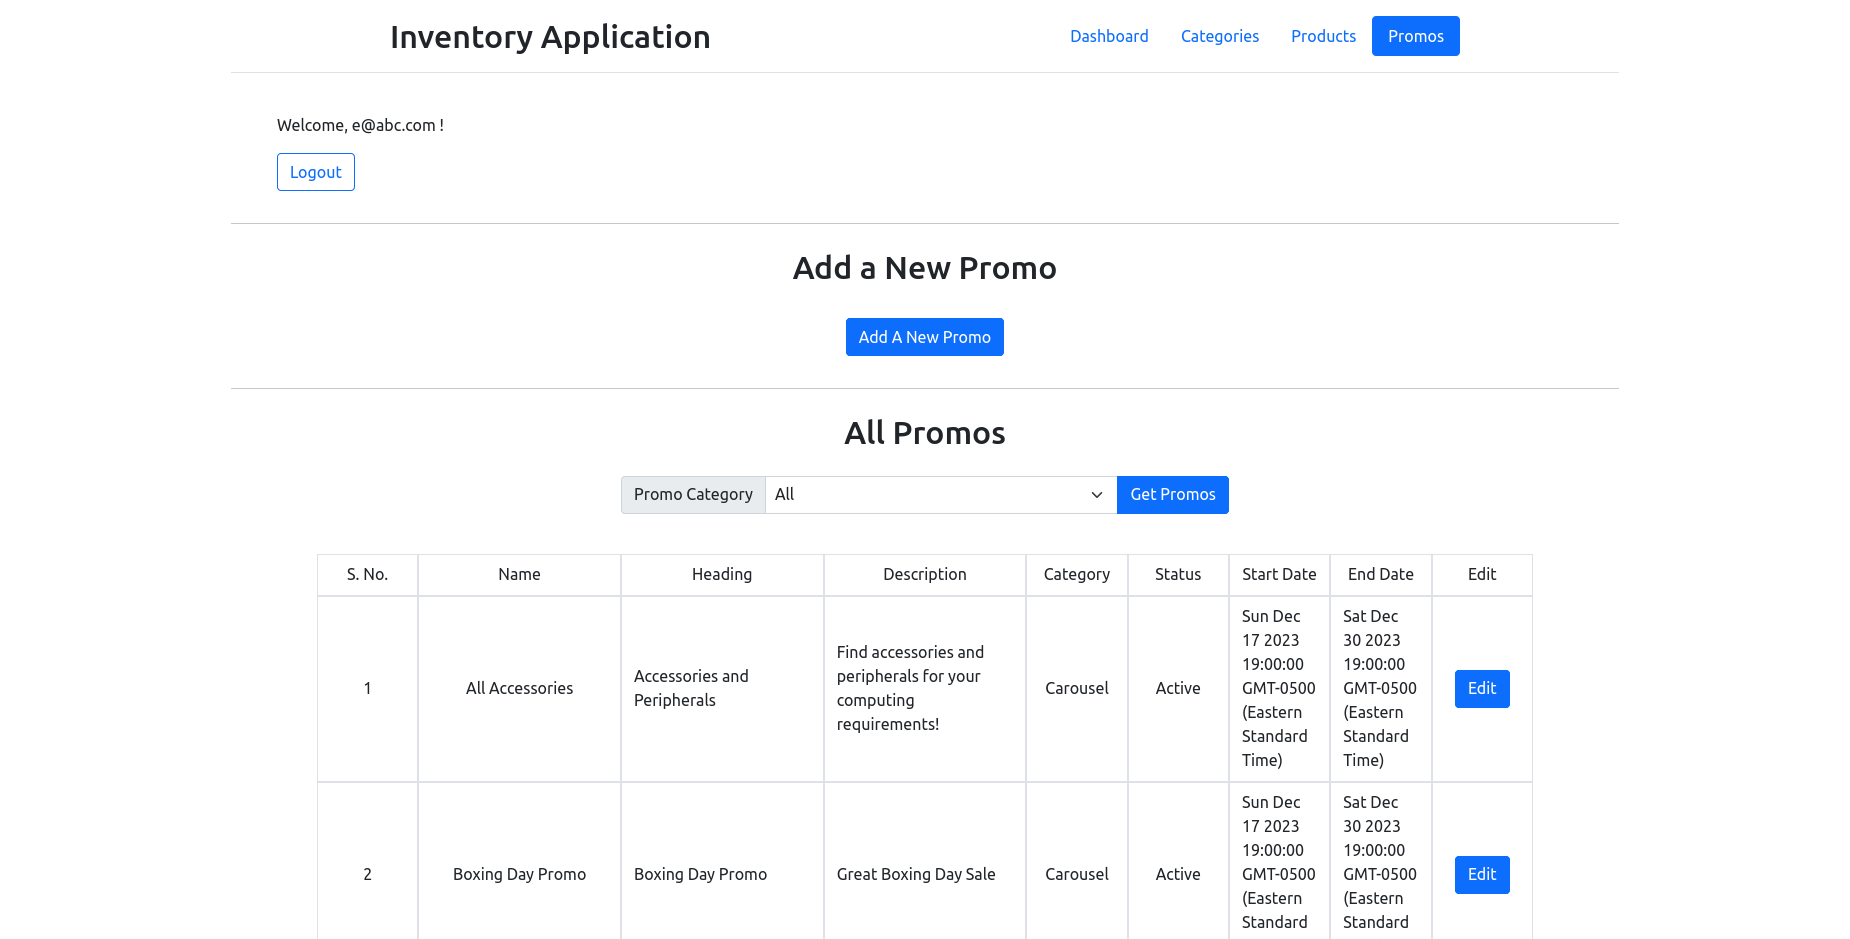
- Click on the Manage Promos link from the Dashboard. You will be taken to the All Promos page. It will list all the existing promos with links to View, Edit, and Delete them. You can select Promos for a particular category by selecting it from the DropDown list and clicking the Get Promos button.
-
Click on the Add a New Promo button to add a new promo. You will be directed to the Create Promo page.
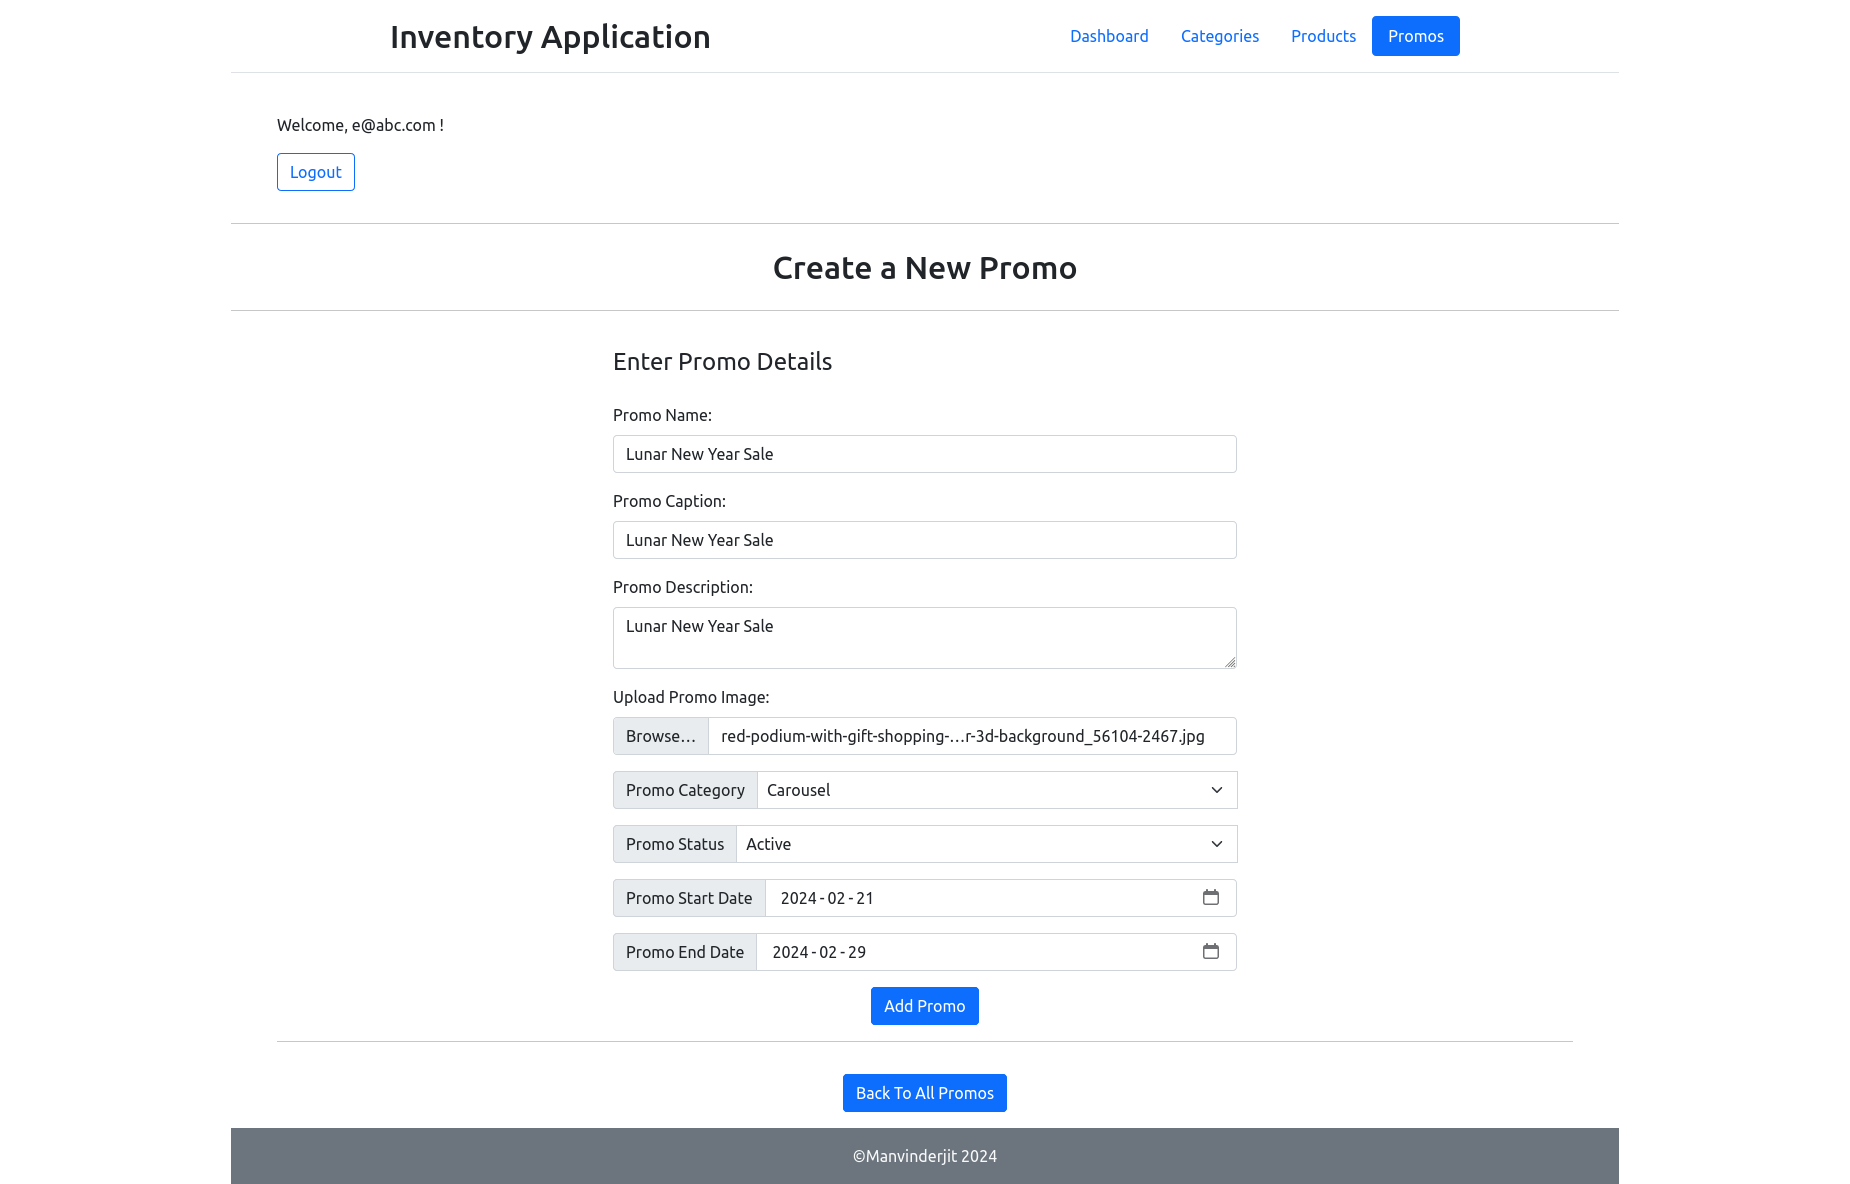
- Enter all the required promo details, upload an image, choose Carousel as the category for the promo, and a start date and end date that is at least 48 hours ahead of today.
-
Click on the Add Promo button to create the promo. If everything goes well, a success message will show. In case of errors, respond accordingly.
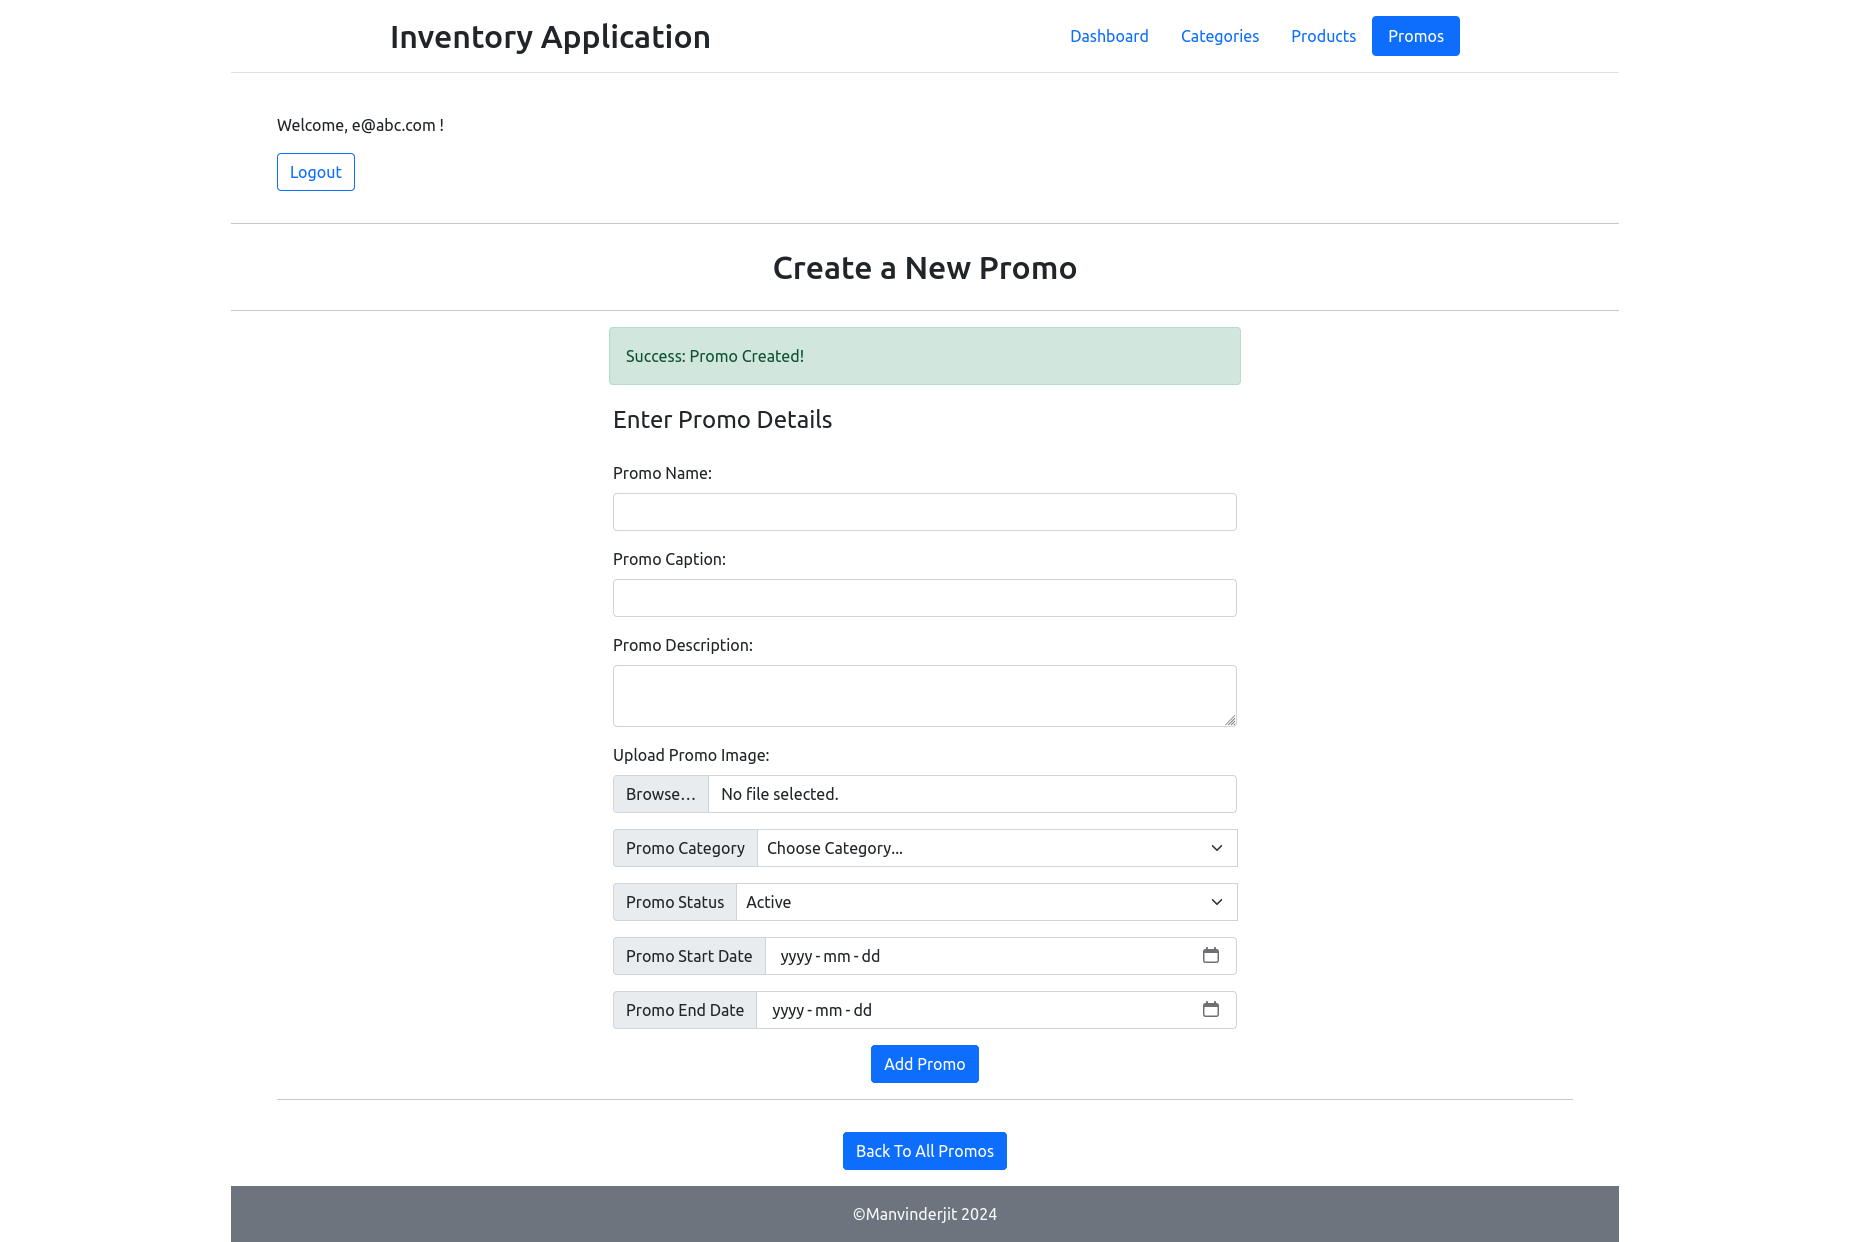
Checking the newly created promo:
- Go to the Shopping Cart App. The new promo should now be visible as the last carousel image on the home page.
- Go to the All Promos page. The new promo should be visible in the list.
Step 4: Fulfill an Order
This Inventory App allows you to fulfill orders placed by the customers on the Shopping Cart app.
Create an Order on the Shopping Cart App
- Go to the Shopping Cart App.
- Log in using demo or your credentials.
- Add any of the items to the cart and then checkout.
- Place the order
- You will be redirected to the Orders Page on the Shopping Cart app.
Fulfill the Order on this Inventory App
Fulflling an order created on the Shopping App using this Inventory App:-
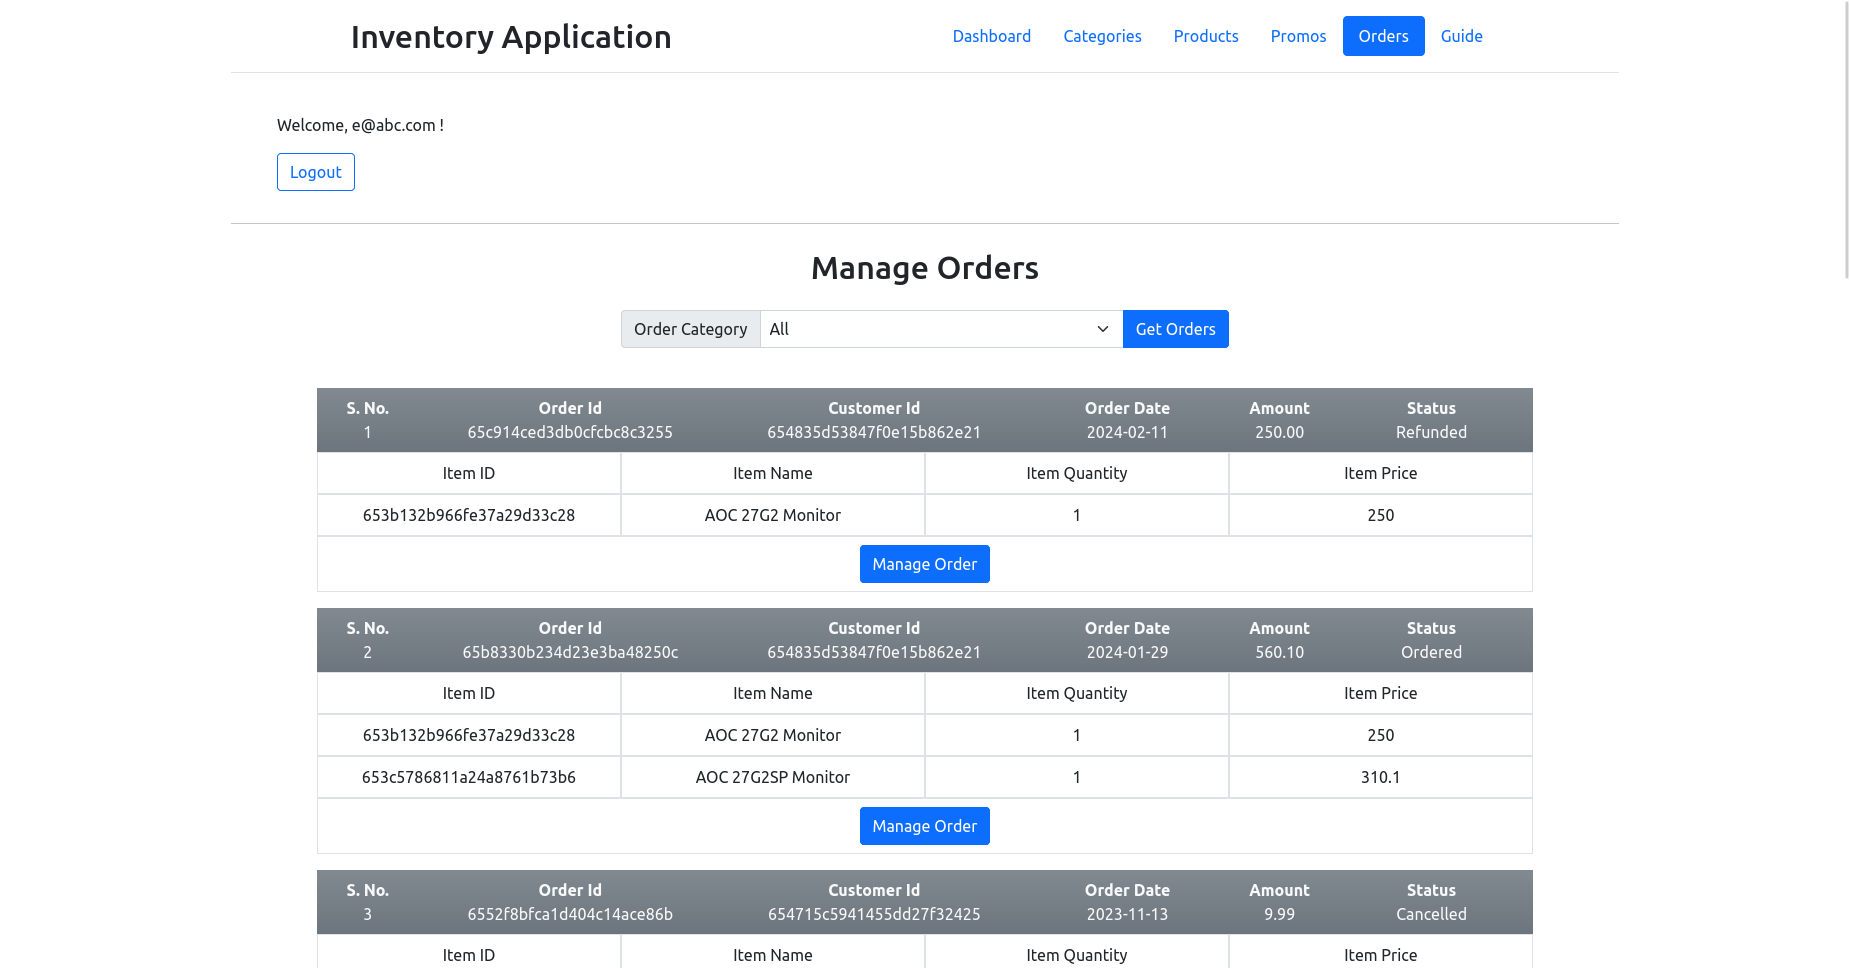
Go to the Orders page on this Inventory App from dashboard or the navbar. It should list all orders on the page with latest first, i.e., the order you just placed on the Shopping Cart App being the first order. You can filter orders based on the Order Category (Status).
-
Click on the Manage Order button for the first order in the list. It will open the Manage Order Page.
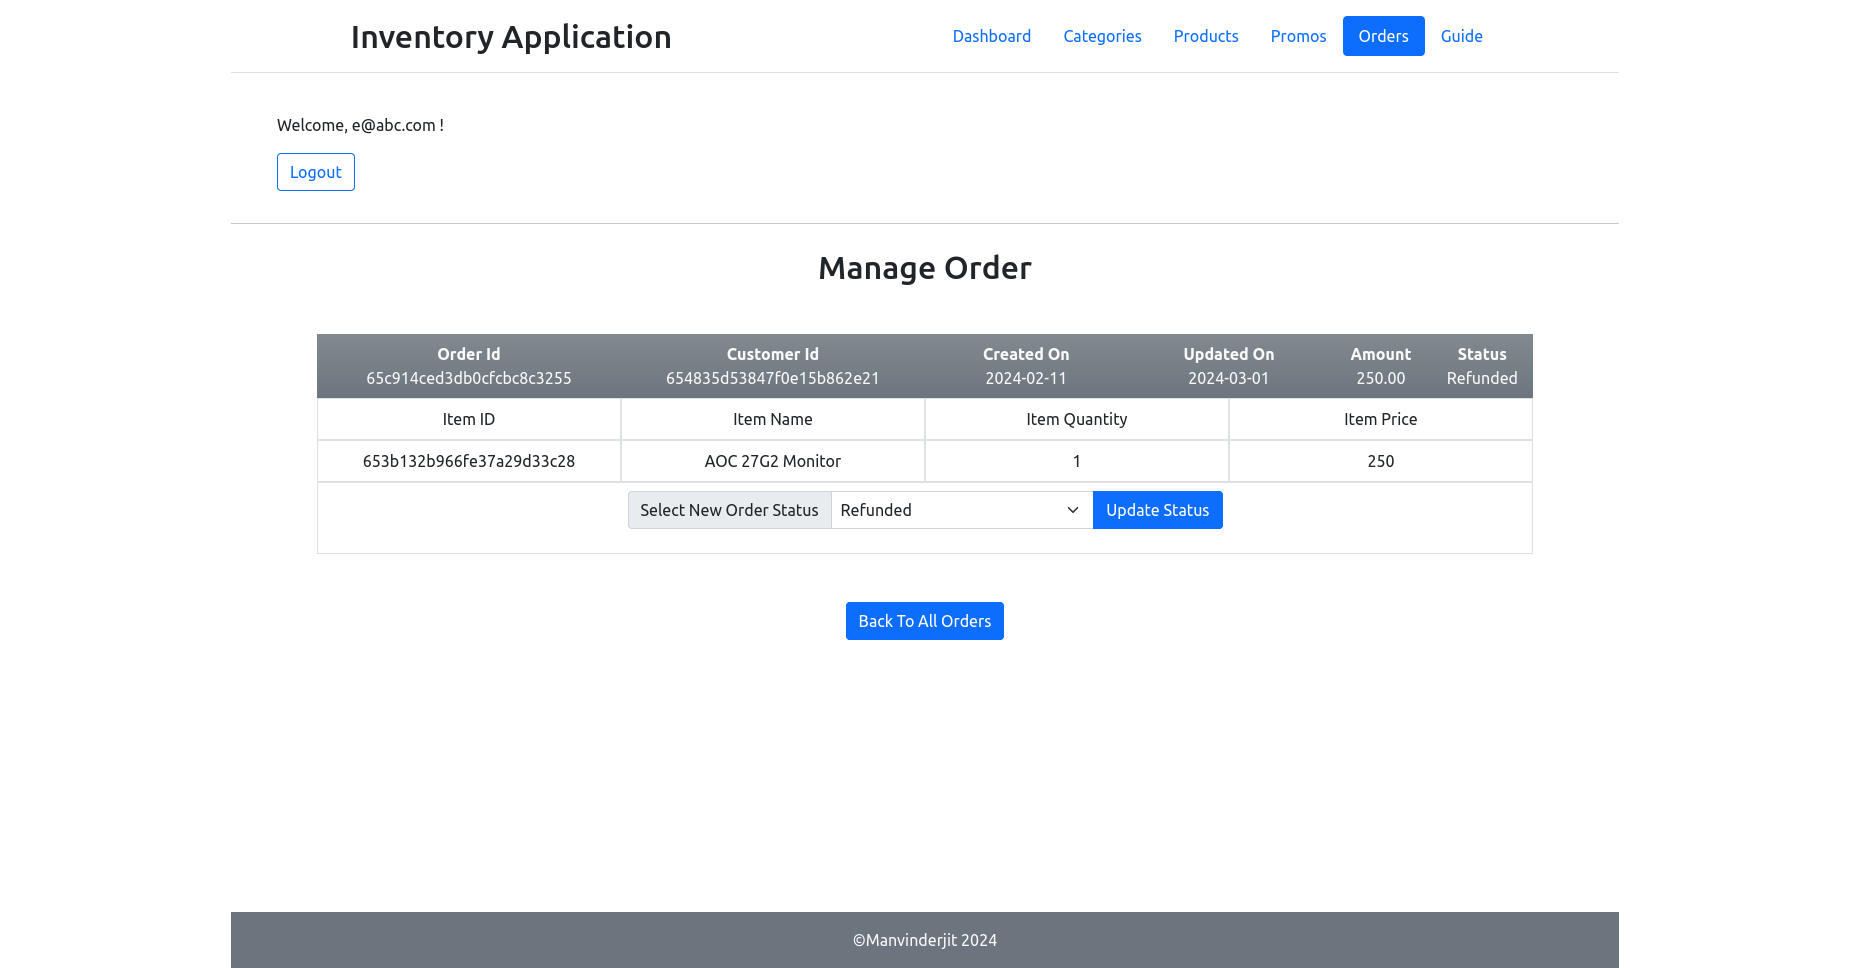
- On the Manage Order Page, select the new Order Status from the list and click on the Update Status button. It will update the order status and rerender the page.
Checking the Updated Order Status on Shopping Cart App
We can check the new order status on the Shopping Cart app:- Go to the Shopping Cart App.
- Log in using demo or your credentials.
- Go to the Dasboard by clicking on the Dasb button from the navbar. It will open the Dashboard Page.
- Open the View and Manage Orders page by clicking on the My Orders button. It will show all your orders.
- Check the status of your orders, it will now be updated.